“What you gonna do with all that junk? All that junk that’s in your trunk?”
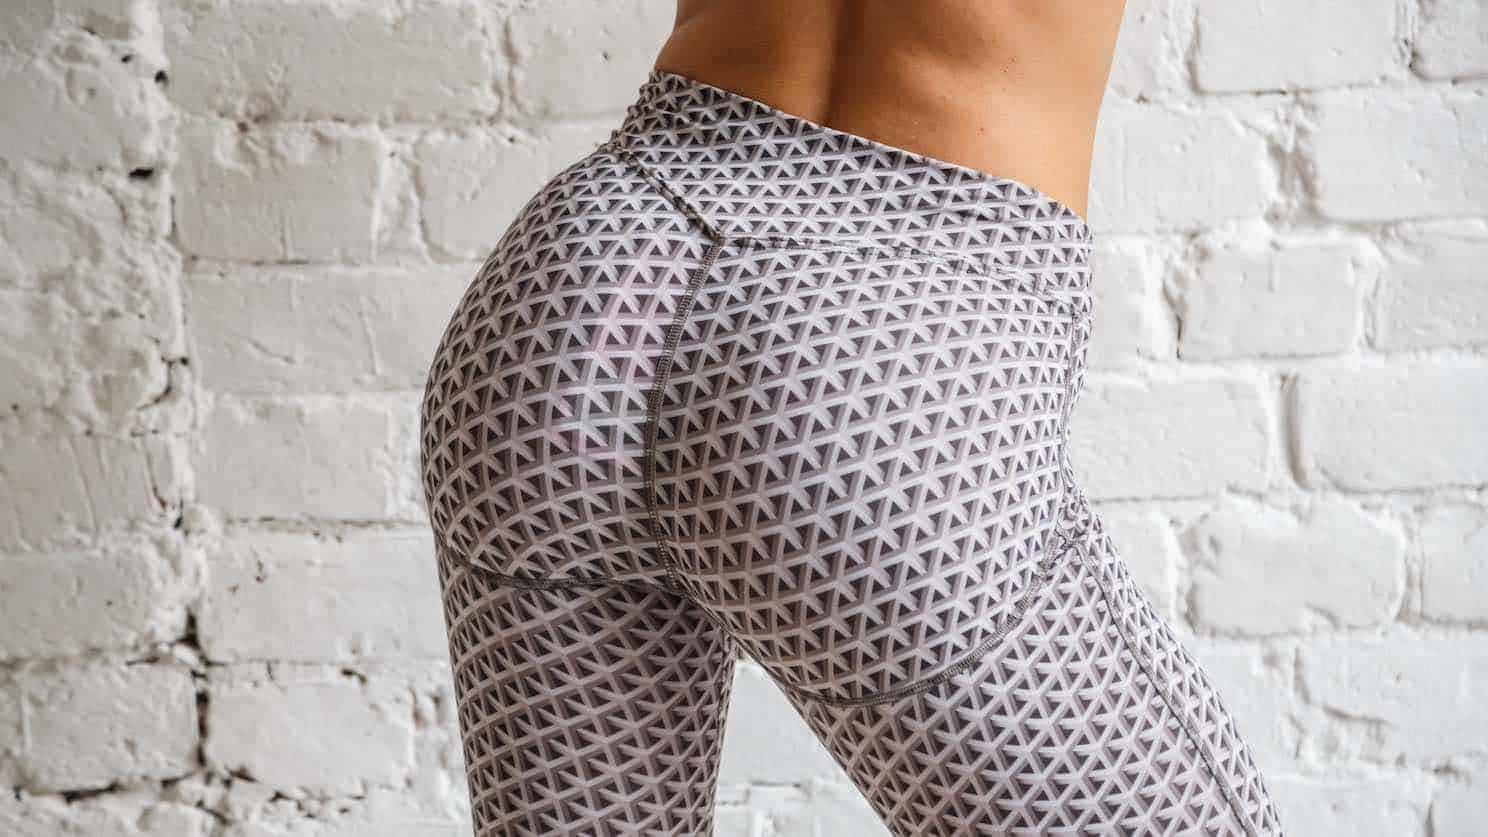
When the Black Eyed Peas first sang this song, most women were working hard to minimise their backsides. Today, as Team Costhetics explains in this article, junk in the trunk has gone from “out” to “in,” and a big bootie is the new fitness goal. A lifted bootie, that is.
Happily, a lifted bottom is something you can achieve with our very simple workout routine. You’ll love it because with the Costhetics approach, there’s
- No expensive equipment
- No special clothing
- No gym membership
It’s a DIY approach to beautifying your butt.It’s also a no-excuses approach.
Costhetics Looks at Celebrity Bottoms
On display in summer swimsuits and winter ski pants, a large, lifted bottom is an enviable beauty asset. Celebrities with large backsides no longer rush to plastic surgeons or have “secret” liposuction or (at the very least) camouflage their rear assets in voluminous costumes. Instead, we now live in a world of proud well-endowed bottom flaunters.
Consider these famous faces and bottoms:
- Nicki Minaj – rapped and twerked in a pink thong in the video for her single Anaconda.
- Coco – The curvy wife of Law & Order: SUV star Ice T proudly shows off her XL backside in risqué photos on her own website.
- Kim Kardashian – To prove her big butt was her own, Kardashian proudly had x-rays for a 2011 episode of her reality series Keeping Up with the Kardashians.
5 Minutes to a Beautiful Butt without Surgery
The Brazilian Butt Lift was created in South America where women are famous for their large, but beautifully toned buttocks. It is a surgical procedure that not only lifts, but also enhances the size of a patient’s buttocks. The cost is upwards of $10,000.
Our 5-step, 5-minute “lift your cheeks” workout certainly won’t deliver comparable results to surgery, but it can help you firm the junk that’s in your trunk and give it a little lift, too. Ready to get started? Let’s go!
How will you know if you’re doing things right? You’ll feel the burn in your bottom.
Step 1 – The Plie
- Stand with your feet slightly wider than shoulder-width apart
- Let your arms rest at your sides
- Turn your toes out
- Tuck your tailbone and contract your glutes (the muscles in your backside)
- Lower your body into a low squat without allowing your knees to creep past your toes
- Simultaneously raise arms to shoulder height in front of your body
- Keep your palms down
- Hold for 2 seconds and return to starting position
- After 20 reps, pulse your bottom for 20 seconds
Step 2 – The Lunge
- Stand with your feet shoulder-width apart
- Point your toes forward
- Squat until knees are bent 90 degrees
- Straighten your left leg beyond you into a deep reverse lunge
- Place your right hand along the outside of your right thigh or on the floor for balance
- Raise your left hand in front of your face with your palm facing out
- Return to starting position and repeat, alternating sides and continue for one minute
Step 3 – Jump and Lunge
- Step forward with your left leg until your knee is bent to a 90 degree angle
- Be sure your knee is directly over your ankle, with your right knee pointing toward the floor
- Jump up, pushing off the floor with both feet
- Switch legs in mid-air, landing with your right foot forward
- Continue, alternating sides, for one minute
Step 4 – Single Leg Squat
- Stand with your feet together
- Let your arms rest at your sides
- Place your right foot on top of a small folded towel (no more than a 10 centimetres high)
- Shift your weight to the left leg, and bend your left knee 45 to 90 degree
- At the same time, slide your right leg (and the towel) slowly out to the side as far as you can comfortably go
- Hold for a count of four
- Slowly draw your right leg (and towel) back the starting position while straightening your left leg
- Repeat for 30 seconds
- Switch sides.
Step 5 – Kick Back
- Stand with your legs shoulder-width apart
- Let your arms rest comfortably at your sides
- Sit in a squatting position while keeping your weight on heels
- Lift your right leg straight behind you
- Extend your arms in front of you at shoulder height
- Be sure to keep your hips pointing forward
- Return to the start and switch sides
- Continue for one minute
Your posterior may feel a little sore after this short, but rigorous workout. When you begin to see the benefits, however, pain will be the last thing on your mind.